The OpenAPI document is a JSON document and describes the API formal. Using such generic OpenAPI documents various REST clients can be created automatically e.g. JavaScript, Java or C #.
OpenAPI Dokument
The following link can be used to access the OpenAPI document of the AMPAREX API:
https://<host>/amparex/webaxapi/v2/api-docs
or
http://<host>:8080/amparex/webaxapi/v2/api-docs
Depending on the server, <host> must be replaced by the server name (e.g. preview1). The result is a JSON document that has to be copied from the browser:

Please note
Access to the Open API document only works on test servers.
The below JSON document is a description of AMPAREX API for SwaggerHub.
SwaggerHub
In order to visualize the API one needs the Swagger tool, 'Swagger-UI'. The following steps are necessary to set it up:
| Description | |
|---|---|
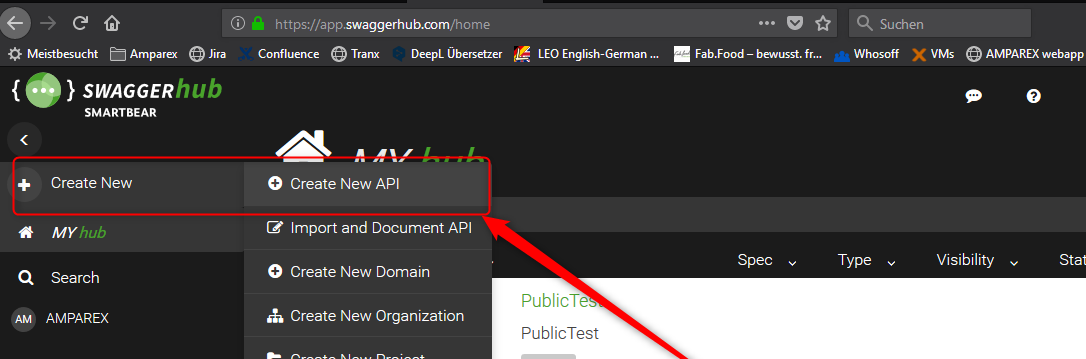
| 01) Create an account under SwaggerHub 02) Log in to SwaggerHub 03) Create a new API |
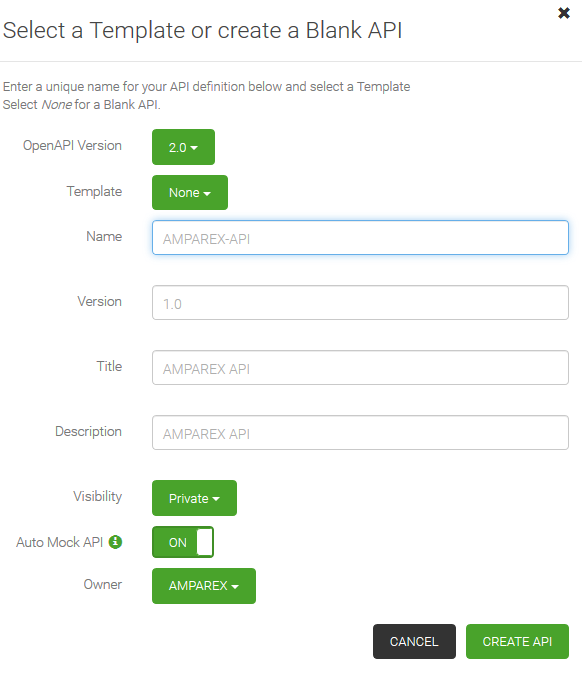
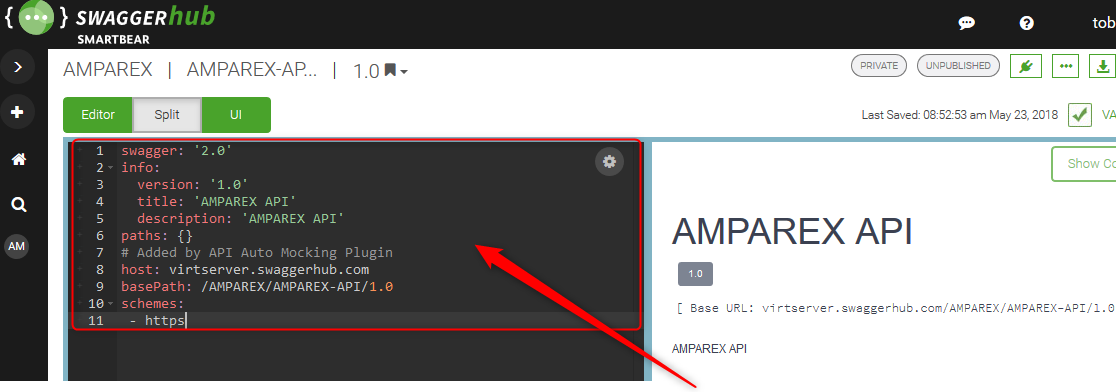
| 04) Fill out the dialogue as shown on the right 05) Click ‘Create New API’ 06) The Swagger UI will open with the OpenAPI editor. The editor is on the left and the API documentation is on the right |
| 07) Now copy the previously copied OpenAPI JSON document from the URL 'http: //localhost: 8080/amparex/webaxapi/v2/api-docs' into the left editor window 08) Confirm the question whether to convert from JSON to XAML with 'Yes' |
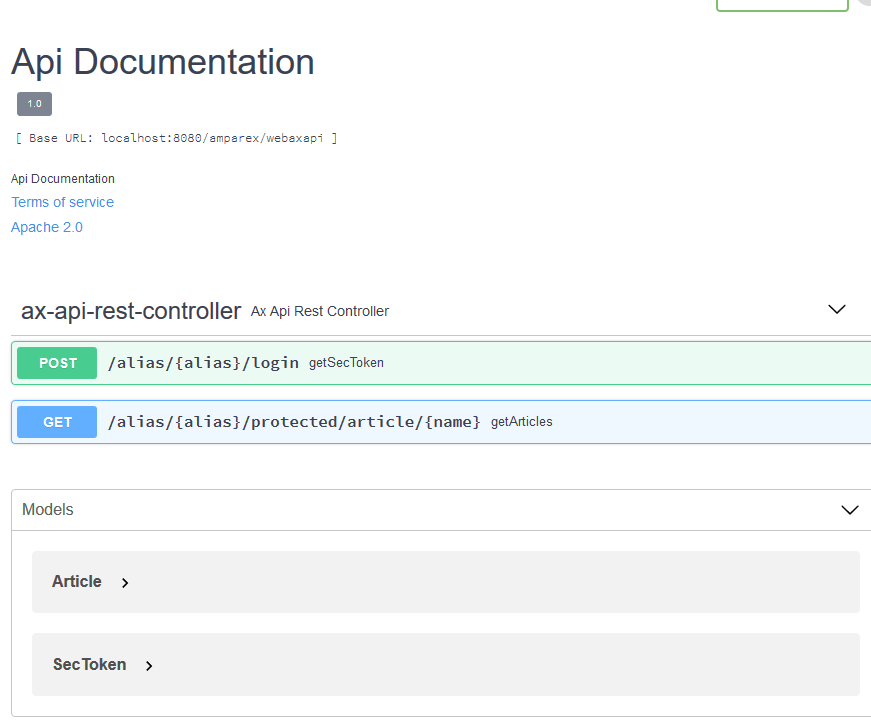
| 09) The API documentation is now shown in the preview on the right. 10) This document is the API documentation. In the upper part you’ll find the individual access methods for the API. The lower part describes the ‘model’ which means the entities (e.g. article). |
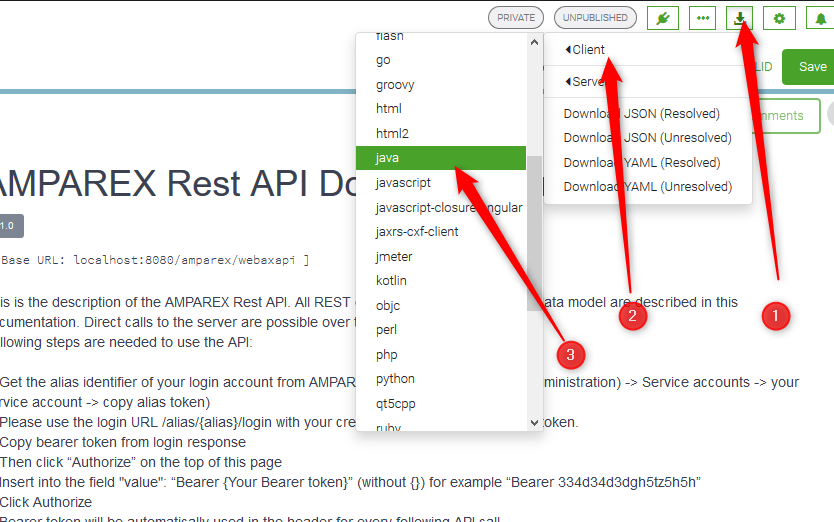
| 11) There is a download button in the SwaggerHub header menu. It can be used to easily create a RestClient project in order to use the API more conveniently 12) There are many different languages to be found. In our example, a Java client is created |
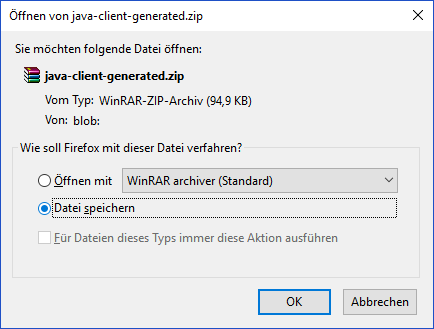
| 13) The created zip file will be saved. 14) The project can be opened in a Java development environment. The best would be to create a JAR file from it. |
15) A 'Test Main Class' shows the use of the Rest Java client Rest Client Verwendung import io.swagger.client.api.ArticlesApi;
import io.swagger.client.api.LoginApi;
import io.swagger.client.model.*;
import java.util.List;
public class Main {
public static void main(String[] args) throws Exception {
// Configuration
LoginApi loginApi = new LoginApi();
ApiClient apiClient = loginApi.getApiClient();
apiClient.setBasePath("https://preview8.amparex.net/amparex/webaxapi"); // base path, set hosthere
apiClient.setConnectTimeout(3 * 1000); // 3 seconds
apiClient.setReadTimeout(30 * 1000); // 30 seconds
apiClient.setWriteTimeout(10 * 1000); // 10 seconds
// use your user, password and alias here
// login and get security token (Bearer token)
SecToken secTokenWrap = loginApi.getSecTokenUsingPOST("tester", "tester!8X", "pa-a-ffh6ioqxzje-ceabuy_dtzdvp_h0hwjitjvyls=");
String secToken = secTokenWrap.getValue();
// create search query for articles
ArticleSearchQuery articleSearchQuery = new ArticleSearchQuery();
articleSearchQuery.setName("Ace");
SearchQueryMetaData searchQueryMetaData = new SearchQueryMetaData();
searchQueryMetaData.setLimit(10);
searchQueryMetaData.setPage(1);
articleSearchQuery.setMetaData(searchQueryMetaData);
// search articles
ArticlesApi articlesApi = new ArticlesApi();
apiClient.setApiKey("Bearer " + secToken);
ListResultWrapperArticleOverview listResultWrapperArticleOverview = articlesApi.searchArticlesUsingPOST("pa-a-ffh6ioqxzje-ceabuy_dtzdvp_h0hwjitjvyls=",articleSearchQuery);
List<ArticleOverview> list = listResultWrapperArticleOverview.getResult();
for (ArticleOverview articleOverview : list) {
System.out.println(articleOverview);
}
}
}
| |